Biking long distances means you will need some kind of navigation aid. Paper maps are mostly gone except as a backup measure. Some people use TomTom-like systems specially designed for bikes, but nowadays you don’t need these special tools anymore: your smartphone will do just fine. And it doesn’t have to be the latest 700 euro supersmartphone, personally I use a Samsung Galaxy S4 from 2013 which my kids say is antiquated.
This tutorial will show you to do it. Please note that this tutorial is only for Android-people. If you have an iPhone I can’t help you, I am sorry.
Here is how to do it (with an Android phone).
Batteries #
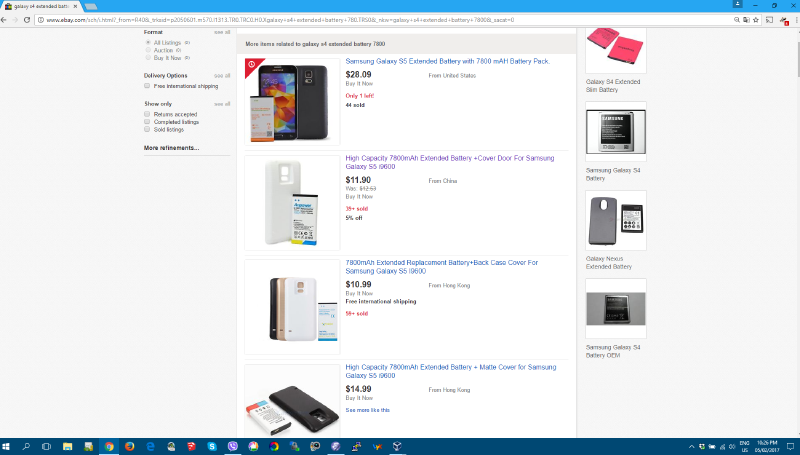
When using your smartphone as the main navigation aid, you will need extra battery capacity. For a trip in Russia I replaced my standard Samsung battery with a supersize battery, about three times the size (and weight) of the standard battery. The phone now looks like a brick and my kids say it looks hilarious (on top of antiquated), but it will run for three days without a problem. Using the phone for navigation during eight hours still left me with 80% battery capacity.
Alternatively you could buy spare batteries, or bring a power bank. In some modern phones you can’t swap batteries anymore so then the powerbank is the only option. Go check eBay for the possibilities, and search for “powerbank” or “extended battery”.
Software #
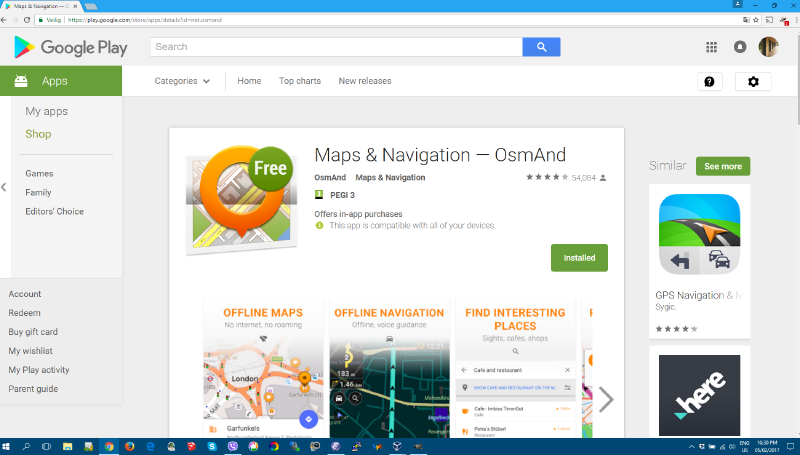
For software I use OsmAnd, and the rest of this tutorial is based on that. There are many alternatives, but I wanted a system that has excellent detailed maps and that can work offline, with downloaded maps. Google Maps is fine too, but you will need internet on the road and depending on where you ride, internet may not be available. I use the Pro version of OsmAnd, I think it costs around 5 euro in the App Store. I forgot why I paid for the Pro version of OsmAnd, the Play Store shows a free version as well so maybe that one works just as well. I find the OsmAnd interface a little quirky so you may need some time getting used to it.
Preparing Your Trip #
I prepare my trips with Google My Maps (not the standard maps.google.com but www.google.com/mymaps, you need to login to your google account). I then do the following:
- prepare a route using the google route planning tools
- convert kml to gpx
- import the gpx into OsmAnd.
And voilá: OsmAnd will tell me where to go. Here are the steps in more detail.
Preparing A Route #
Google helps me prepare my route. Google Maps has a special section called mymaps, and this allows you to create your own maps, and export these maps to KML-files. To get there, I search for “google my maps” and then some links will show up such as https://www.google.com/mymaps and https://mymaps.google.com/. You will need to login to your Google account and then you end up on a website that looks a bit like the normal Google maps, but with some extra functionality.
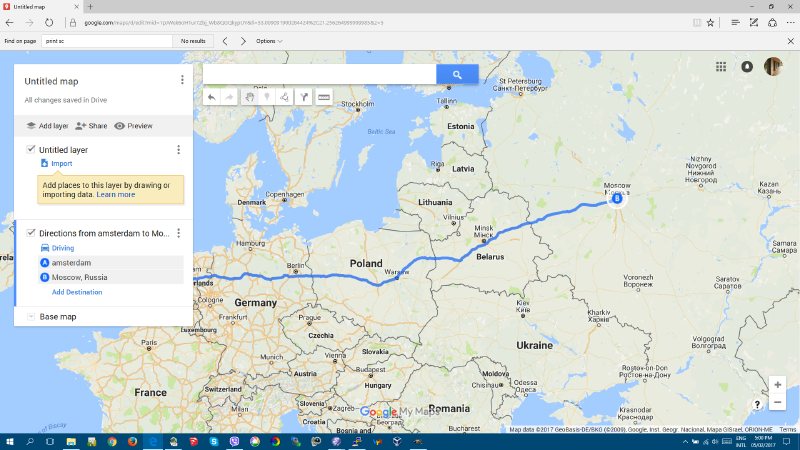
Somewhere there should be a button or link that says “create a new map” and then you end up in an interface like this:
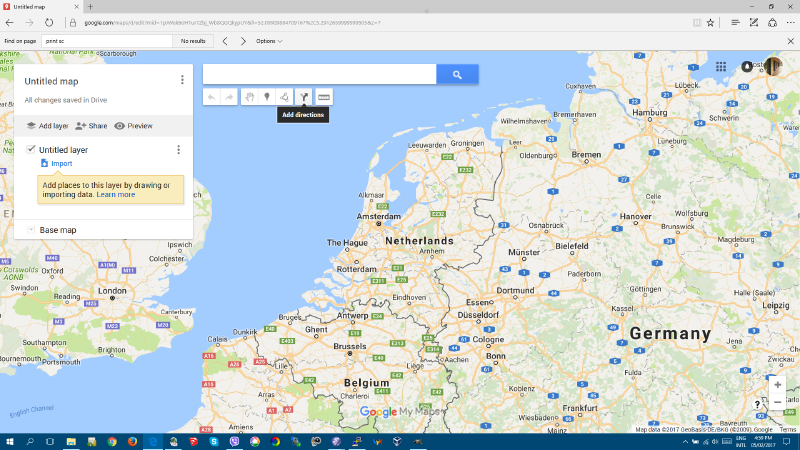
Now click the “Add directions” button (hover your mouse over the buttons to find this button), enter start and finish addresses, and Google will create your route.
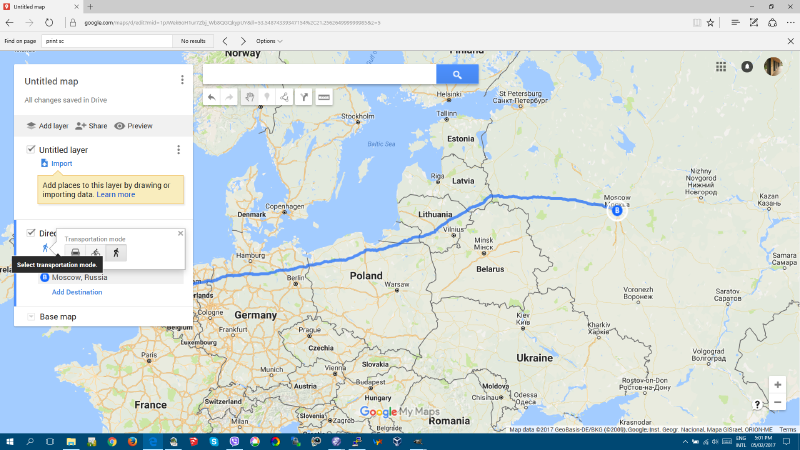
Most of the time you will need to change the route a little here and there. For starters, Google defaults to a route for cars, and since we will bike, you must change a setting and Google will recalculate.
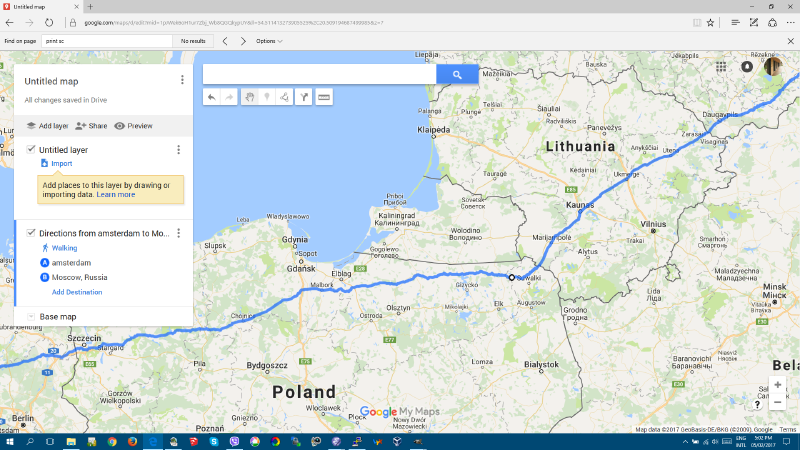
Also you can drag the route to make changes. For instance, Google tries to send me through the Russian enclave near Kaliningrad between Poland and Lithuania, but I want to avoid that area so I drag a little to make sure we stay just South of the border.
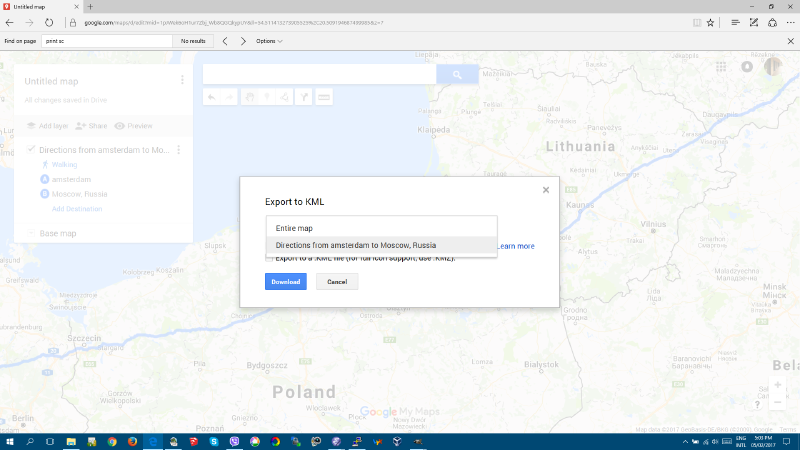
When all is ready we click on the three-button menu and then “Export to KML”. Voilá, first step is done.
Convert KML To GPX #
Your KML-file must be converted into a GPX-file. This is an easy step, there are online tools everywhere, for instance at https://www.kml2gpx.com/. Upload your KML-file, then download your GPX-file, and bingo, second step is done.
Import GPX Into OsmAnd #
The last step is getting your GPX-file into OsmAnd. There are various ways to do it, depending on the make and model of your phone. On some phones you can connect via a USB-cable to your PC or Mac and then your file browser will show you the contents of your phone memory. Personally I use a small piece of software on my phone called “wifi file transfer pro” that allows me to upload files to my phone via a web browser. All methods are ok.
But the question is: where do you store your file? On my Android I store the GPX-files here:
external memory / Android / data / net.osmand.plus / files / tracks /
but on your phone the Android folder may be somewhere else, not on the external memory. If you find a folder net.osmand.plus but it does not have a subfolder files/tracks/ then create these folders with the exact names as above: files/tracks/.
Once you’re in your tracks folder, just drop your newly created GPX-track. We’re almost done.
Displaying The Map #
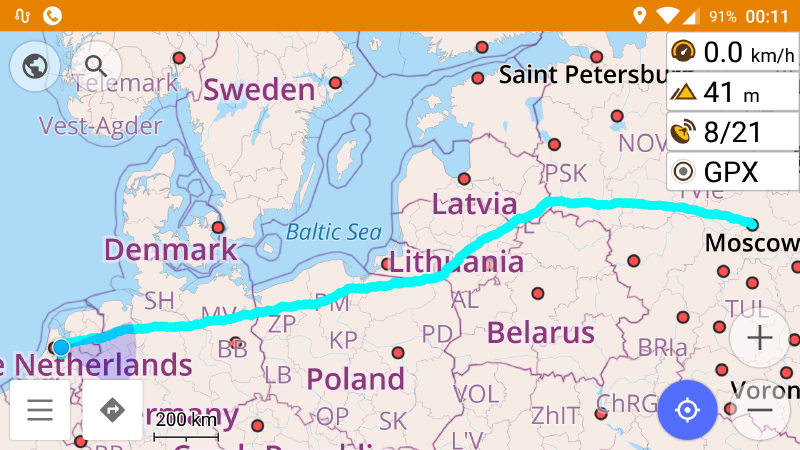
Now on to displaying the map on your smartphone screen. Start OsmAnd, open the menu and click “Configure map”, then click “GPX tracks”. And yes, your track should be there somewhere. Select the track and go back to the main screen. You should see your route, in blue.
Now click the navigation arrow at the bottom, and OsmAnd will ask whether it should use the displayed track for navigation directions. Select the track, click the Go-button, and off we go. Have a nice trip.